By Debamalya Mukherjee
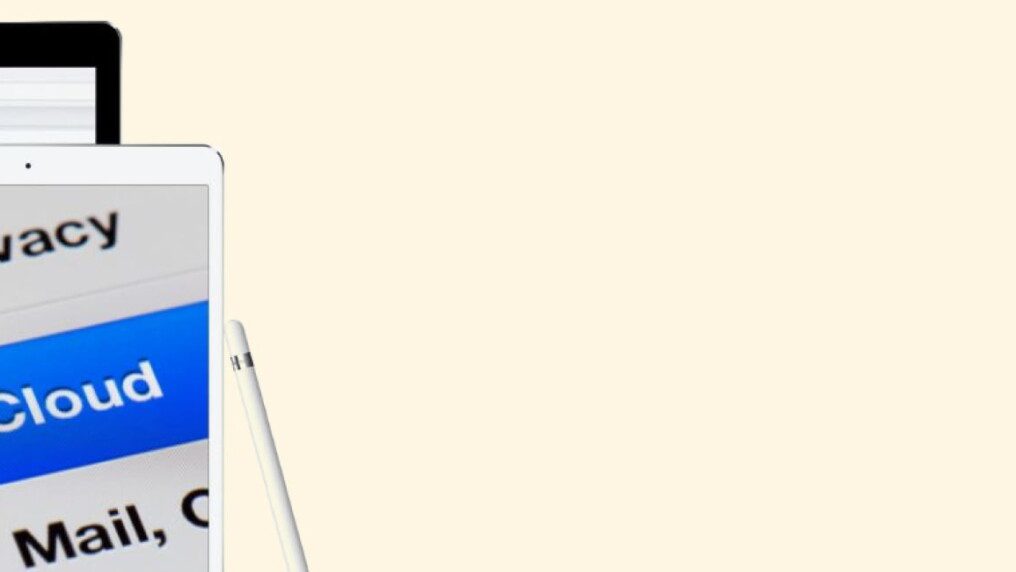
Every day when you open your iCloud email inbox, you will be amazed by how many useless emails there are. They uselessly clutter your inbox and take up space on your iCloud account. So to make things easier and more organized for yourself, why not learn how to block emails on iCloud?
To learn how to do so, read this guide till the end. Here, I have explained three ways to block emails on iCloud and why you should consider doing so.
How To Block Emails On iCloud?
There are various ways to learn if you wish to know how to block emails on iCloud. This guide will teach you three methods I have applied so far. They are:
1. Block Emails On iCloud Mail
To block emails on iCloud, it doesn’t have a specific “block email button. Therefore, you have to find new ways to bypass it and set rules that block emails automatically. Here, you will block emails sent by spam mail accounts and send them to the list of trashed emails.
Therefore, to learn how to block emails on iCloud account, you can do so by:
- First, open your browser (preferably from your iMac or MacBook).
- Next, go to this website – www.iCloud.com.
- Now, log in with your Apple ID and password.
- On the left side of the screen, you will see a list of options. Click on Mail (the one with a white envelope logo).
- Now, on the sidebar, open Settings (gear cog icon).
- A popup menu will now appear. Here, you need to click on Preferences.
- On the new window that opens, click on Rules.
- Here, you can customize all rules that your iCloud mailbox will follow. Now you need to click on Add Rule.
- Find the header named “If a message” and click on it.
- Now, select “is from” from the options that drop down.
- You will now be able to type in the email ID you can block.
- After you have done so, you need to find the header called “then” and click on it.
- Now, select “move to trash and mark as read” from the drop-down options.
- Finally, click on Add.
Read More: Best Tips To Buy Screen Protector Tempered Glass for Your iPhone
2. Block Emails On The iCloud App

If you own an iMac, Macbook, or iPhone, then you can directly download and install the iCloud Mail app. In addition, you can learn how to block emails on iCloud on iPhone through this method.
Compared to the previous step, this process is quicker and simpler as well. To do so, you need to:
- Go to the Apple App Store on your iPhone or Mac computer.
- Download and install the iCloud Mail app.
- After it’s installed, open the app.
- Log in with your Apple ID and password.
- Find an email that you received from the sender you wish to block. After doing so, click on the name of the sender.
- You will see an option called Block Contact. Click on it.
3. Block Emails Using Third-Party Apps
If the two methods above don’t work, you can rely on third-party apps to do your bidding. Many apps on the App Store will allow you to do so. However, after using many of them, the safest and best way to block someone on iCloud Mail is by using the Clean Email app.
This is because this app provides various ways to block emails on iCloud. Therefore, you can use it to block spammy emails sent by Zoro.to and TweakVip to registered users. This application is the best way to block spammy email IDs from the same domain.
To use this app to learn how to block emails on iCloud, you can:
- Firstly, download and install the Clean Email app on your Mac computer or iPhone.
- Launch the app after it’s downloaded and installed.
- Sign in to your iCloud mail ID through the app.
- Now, open the Dashboard of the application.
- On the top, you will find a search bar. Here, type in the email ID preceded by an @ symbol. It should look something like @spamsite.com (spamsite.com being the name of the email domain you wish to block).
- Now, all the email IDs associated with this domain will pop up. Click on Select All.
- In the toolbar, click on Block.
- Finally, click on Ok to confirm your choices.
In Step 7, you can also do many other actions besides blocking the email ID. Some of these other functions you can choose from are:
- Unsubscribe from newsletters of various websites sent by email.
- Mark an email as Read Later and send it to the Read Later folder automatically. These emails will not appear in your inbox.
- Group emails according to various filters like sender, subject, time, and various other options.
How To Change The List Of Blocked Emails On iCloud?

If you choose to block emails from the iCloud Mail app, you can also unblock email IDs later. Learning this step is best if you mistakenly blocked the wrong email account. To do so, you need to:
- First, open the iCloud Mail app.
- Next, click on Mail from the menu.
- Then, click on Preferences.
- Here, select Junk Mail.
- Then, click on Blocked.
- Here, you will find the list of all blocked email IDs. You can click on the add or remove button to add email IDs or remove them from the blocked list.
Why Block Emails On iCloud?

There can be many reasons why you would want to learn how to block emails on iCloud. However, the most common reasons are:
- Spam Mails: If you think you are receiving spammy, useless emails from various accounts, you can block them to declutter your inbox.
- Harassment: You can block email IDs that send harassment emails to make your life frustrating. Block them to destress yourself and lead a less toxic life.
Read More: How To Fix “Message Blocking Is Active” On Android And IOS
FAQs! (Frequently Asked Questions)
Users have asked various questions regarding how to block emails on iCloud. The answers to these questions are:
Your choice depends here on how many blocked emails you are receiving daily. Ifb you receive too many, then it’s best to block those email IDs.
No, blocked emails do not bounce back to the sender. Instead, they are directly sent to your trashed emails folder.
No, blocked users will never know who blocked them. Only you know which emails you have blocked.
Block Them Now And Live Tension Free!
To get rid of spam emails, you can learn three ways on how to block emails on iCloud.
Firstly, you can set up your inbox rules through iCloud mail. Then, you can block senders directly using the iCloud Mail app in the second step. In the final step, you can use third-party apps to do so.
If you successfully learned how to block emails on iCloud, then leave a comment below! To read more such guides, follow us on Online News Buzz!
Read More: