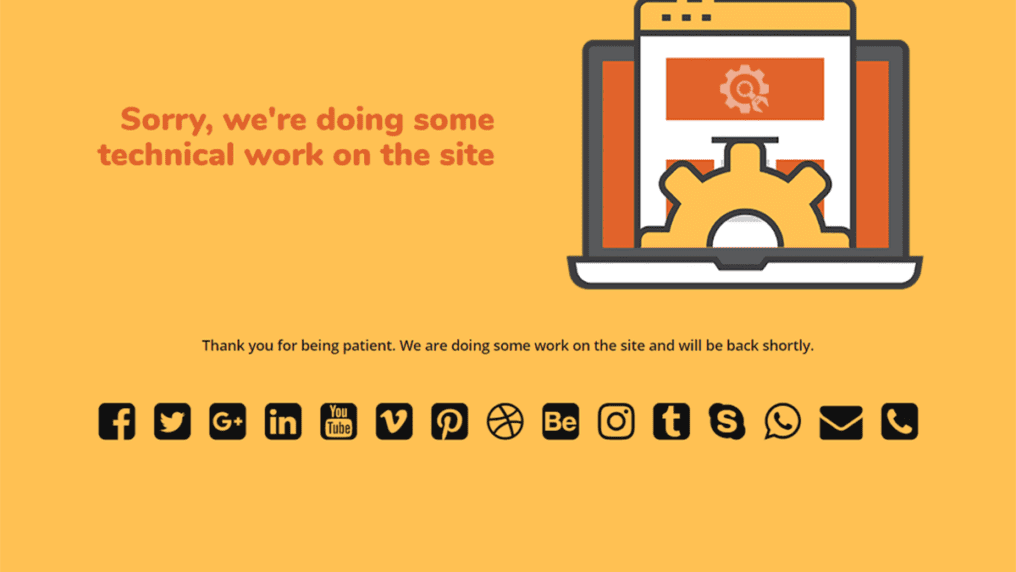
Sometimes when you are browsing the internet, you will come across some pages that are ‘Under Construction’. These are pages on some websites, or entire websites, that are undergoing some major changes or are generally still not completely done.
They allow the visitor to know that things aren’t exactly ready, but work is going on, and soon they will be. The Under Construction Pages also have some social media links where the visitors can get in touch with the website owners and get to know the progress of their work.

Do you have a WordPress website that needs the Under Construction Page plugin? Do you want to know how to set it up yourself? Well, you’re in luck because today you can learn how to do that, right here, right now. It’s really easy to do and doesn’t need a lot of work, just follow the instructions below, and you’ll be fine.
Directions:
There are two ways to acquire this plugin for your WordPress website. We will discuss both of them, and then you can later decide which way works for you best. For the usual, most used method, follow the instructions below:
- Go to WordPress admin and select the plugins option
- Click Add New
- From the search function, enter the words Under Construction Page
- Then hit the Enter key.
- The plugin will show which is very hard to miss. Click on the “Install Now” button next.
- Once done, you will then need to activate it and open its plugin settings page which will be on the Settings page. You can then select the settings you want from there.
If however, you need to manually install this plugin yourself, then you will need to follow the steps given below:
- First of all, you will need to manually download the plugin from their website.
- It will come in a compressed folder
- Unzip it and then upload it to /wp-content/plugins/.
- Then you can open the WordPress admin – Plugins and then hit “Activate” next to the plugin.
- Once done, you will then need to activate it and open its plugin settings page which will be located under the Settings page. You can then select the settings you want from there exactly like the previous method.
After you get to the settings page, following your preferred method of installation, you can then select the settings you want for the ‘Under Construction Page’ and the fun part can begin.

There is no technical stuff involved here, and it is very straightforward to go ahead with, and you can select a host of features for the Under Construction Page.
You can have a message displayed, put some social media links, choose the design you like the best and even customize it with some CSS. Also, you can have a whitelist created that will allow access to only a select few who can see the in-progress website, such as the client or the testers for the website.
The developer is always there to help – you can contact the support via email at any time, and they will respond in less than 24 hours!
And that’s just the start. Everything mentioned until now comes with the free version of the plugin that you can use anywhere and anytime. If you want more features, take a look at one of the PRO versions. Among dozens of cool features that every admin will want, here are just a few:
- Use Drag&Drop page builder to design custom pages
- 13 awesome modules
- Improved access control which helps you when working with clients
- Custom links with custom expire rules
- MailChimp and Zapier support
- Support for local database autoresponder
- Import and Export settings
- Unsplash API integration which gets you access to more than 200k photos
- Support for 3rd party shortcode
- Newsletter
- Contact form
- Countdown Timer
- Google Maps module and much more!
How do you like UnderConstructionPage? Have you ever installed one on your blog?
Read More:


